

How to Sand Walls Before Painting – A Step-by-Step DIY Guide
Share
Sanding your walls before painting might seem like an extra step, but it’s one of the most important things you can do to achieve a smooth, professional-looking finish. Whether you're refreshing a room or tackling a full renovation, proper surface prep makes all the difference. In this guide, we’ll walk you through how to sand walls before painting — and which LowMux sandpaper products to use for the best results.
Why Sanding Walls Matters
Even if your walls look clean and smooth, they likely have small bumps, old paint layers, or patchy filler that can ruin a fresh coat of paint. Sanding helps:
- Remove minor imperfections
- Smooth filler or plaster patches
- Give paint a better surface to grip
- Prevent uneven finishes or peeling later on
What You’ll Need
Before you get started, gather the following:
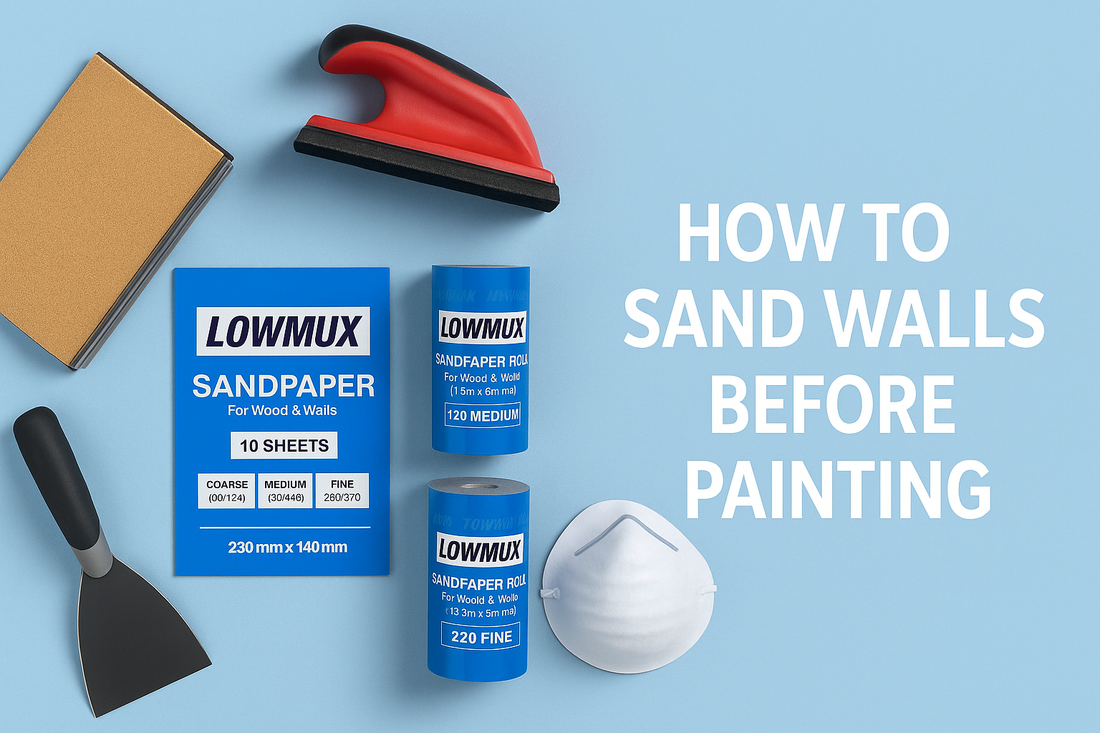
- LowMux sandpaper (preferably sheets or a sanding block)
- Medium grit (80–120) and fine grit (180–220)
- Sanding block or pole sander
- Dust mask and safety goggles
- Drop cloth or vacuum for clean-up
Optional:
- Electric orbital sander for large or rough walls
- Sponge or tack cloth to wipe down walls after sanding
Step-by-Step Guide to Sanding Walls
1. Inspect the Walls
Check for rough spots, cracks, filler, or flaky paint. Use a scraper to remove loose material before sanding.
2. Start with Medium Grit Sandpaper (80–120)
Attach your LowMux medium grit sheet to a sanding block or pole sander. Use light, even pressure and sand in circular or vertical motions. Focus on rough patches, plaster joins, and filled holes.
3. Switch to Fine Grit for Smoothing (180–220)
Once the surface is even, go over the wall again with a fine grit sheet to smooth it further. This step helps prep the wall for a clean, streak-free paint finish.
4. Clean the Dust Thoroughly
Wipe down the entire surface using a damp cloth or vacuum with a brush attachment. Any leftover dust will stop the paint from bonding properly.
5. Check Your Work
Run your hand along the wall. It should feel smooth and even. If not, repeat the fine sanding stage.
Common Mistakes to Avoid
- Don’t skip sanding even if your wall “looks fine.”
- Avoid using extremely coarse grit (under 60) on walls – it can damage the surface.
- Don’t press too hard – let the abrasive do the work.
- Always clean the wall after sanding to avoid paint defects.
Which Sandpaper Should I Use?
For wall preparation, LowMux multipacks offer the perfect range:
- P80 or P120 for smoothing filler or rough spots
- P180 or P220 for final surface prep before painting
Our sandpaper sheets are ideal for both hand sanding and pole sanders, offering durability and even wear.
Final Thoughts
Sanding might be dusty work, but it’s the key to a professional-quality paint job. With the right LowMux sandpaper, a little time and the proper technique, you’ll be setting your walls up for a flawless finish. Whether you're painting for the first time or a seasoned DIYer, don’t underestimate the power of prep.