

Top 5 Sandpaper Mistakes DIYers Make (and How to Avoid Them)
Share
Sanding seems simple enough — just rub the surface and move on, right? But in reality, poor sanding is one of the most common reasons DIY paint jobs, wood finishes, and repairs don’t turn out quite as expected. At LowMux, we’ve seen it all, and we’re here to help you avoid the biggest mistakes.
Here are the top 5 sanding mistakes DIYers make — and exactly how to avoid them.
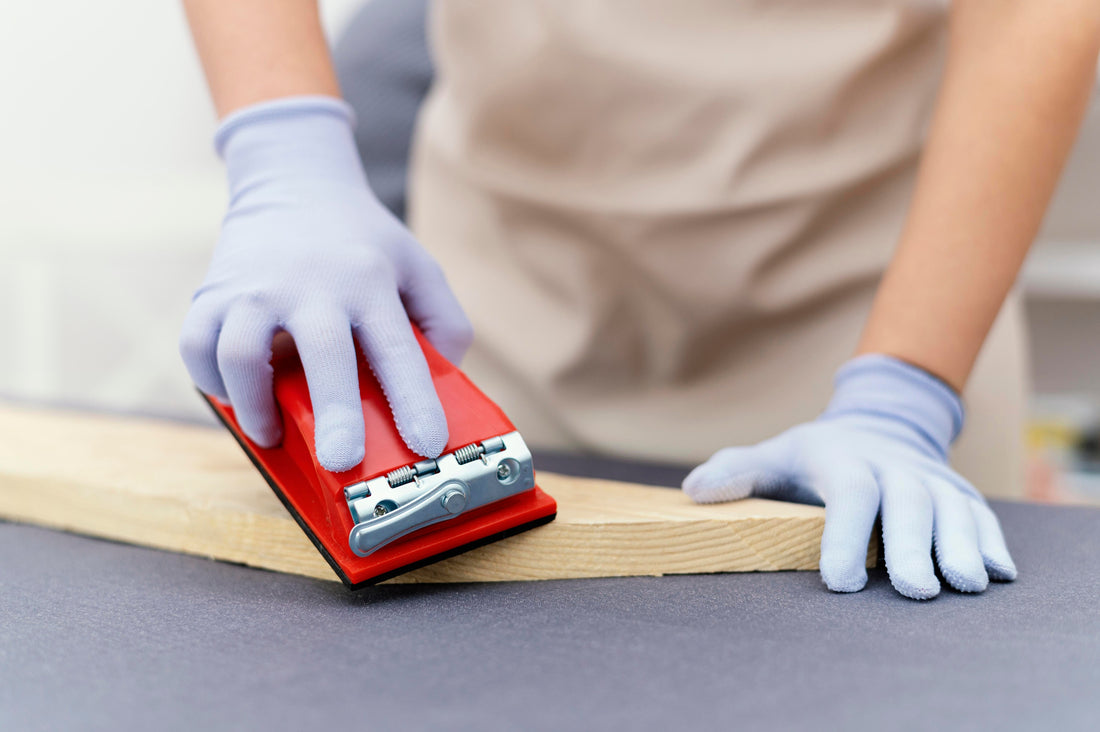
1. Using the Wrong Grit Sandpaper
One of the most frequent mistakes is starting with the wrong grit. Many DIYers either go too coarse, damaging the surface, or too fine, which doesn’t actually prep the material.
What to do instead:
Start with a medium grit like P120 if you're unsure, and adjust based on the job. Use coarse grit (P60) to strip or shape, and fine grit (P220+) for finishing. LowMux multipacks include a mix of grits so you're always ready for any stage of the job.
2. Skipping Grit Stages
Going from P60 straight to P220 might save time, but it usually leaves behind scratches that will show through paint or finish. Skipping grit stages is a shortcut that rarely pays off.
What to do instead:
Step up gradually — P60 to P120 to P220 — to remove previous scratches with each finer grit. This gives you a consistently smooth surface.
3. Pressing Too Hard
Applying heavy pressure doesn’t make sandpaper work faster — it just wears it out quicker and risks gouging your material. Let the abrasive do the work.
What to do instead:
Use light to moderate pressure with even strokes. If your sandpaper isn’t cutting well, it’s time to switch to a fresh sheet — not to push harder.
4. Not Cleaning Between Sanding Passes
Dust build-up clogs the abrasive and ruins your surface prep. Worse, if you paint over dusty walls or wood, the finish won’t adhere properly.
What to do instead:
Wipe down the surface with a damp cloth or vacuum between sanding stages. Clean sanding equals clean results.
5. Using Worn-Out Sandpaper
DIYers often use the same sheet far too long. Once the grit wears down, it stops being effective — and can even burnish rather than sand.
What to do instead:
Replace your sheet or roll as soon as you feel it becoming smooth. LowMux sandpaper is designed for long life, but no abrasive lasts forever. Keep fresh backups on hand so you're not caught mid-project.
Final Tip: Invest in Quality Sandpaper
Cheap sandpaper tears, wears quickly, and delivers inconsistent results. For a better finish and less frustration, use reliable, long-lasting options like those from LowMux.
Whether you're sanding walls before painting or prepping furniture for varnish, avoiding these mistakes will give you a smoother, more professional outcome — every time.